How to make dark videos brighter and clearer

Nothing ruins a video quicker than bad lighting. Not having enough natural light when recording things leads to dark, murky videos that aren’t very pleasant to watch and are sometimes even difficult to understand.
Don’t worry though, all hope is not lost! In this article, we’re going to show you how you can use Flixier as a video contrast editor in order to brighten videos up and make everything look sharper and clearer!
Step 1: Log into Flixier and import your video
In order to use Flixier as a video brightness editor, you don’t need to download or install anything to your computer, but you will need an account! So, before we proceed, you’ll need to create a free Flixier account!
Once you have your account, log in and click on Create Project. Make sure to select an Aspect Ratio that fits the video you want to brighten up.
It’s now time to bring your video over to Flixier. Go to the Library tab on the left side of the screen and click the blue Import button there. You’ll notice that you can bring videos over from your own computer, from cloud storage services, or even from Twitch and YouTube!
After your video has been successfully imported (which shouldn’t take more than a few seconds), double click on it to add it to the Timeline so we can start making our adjustments.
Step 2: Adjusting brightness / contrast and improving clarity!
Select your video on the Timeline. Notice the menu on the right side of the screen? Go to the Colors tab.

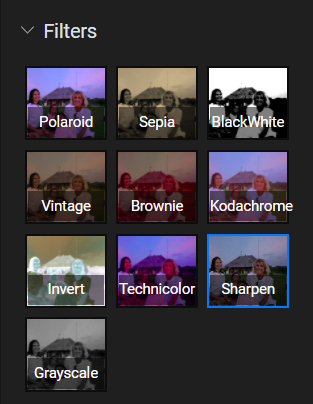
From the filters menu, make sure to select Sharpen. This should help make your video a little crisper and clearer and help little details stand out more!
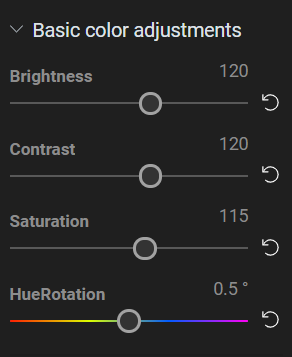
Next up, scroll down until you see the Basic Color Adjustments section. Here is where we can adjust things like Brightness, Contrast and Saturation.

Here’s a quick explanation for what each of these sliders do:
- The brightness makes the entire image appear brighter, but adding too much of it can make things look washed out.
- Contrast makes the lights in your video lighter and the darks darker, which can help combat the “washed out” look you get from cranking up the brightness.
- Lastly, Saturation just makes colors look more vibrant! Adding a little bit of saturation always makes things look more lively, but be careful not to exaggerate since adding too much is bound to make everything look weird and unnatural!
Now that you know how each option works, feel free to play around with the sliders until your video looks the way you want it to! There’s no universally right way to do this, so experimentation is key!
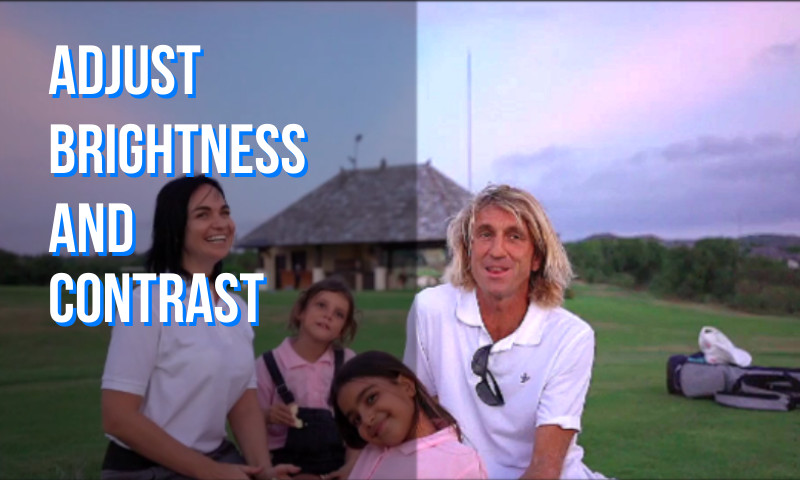
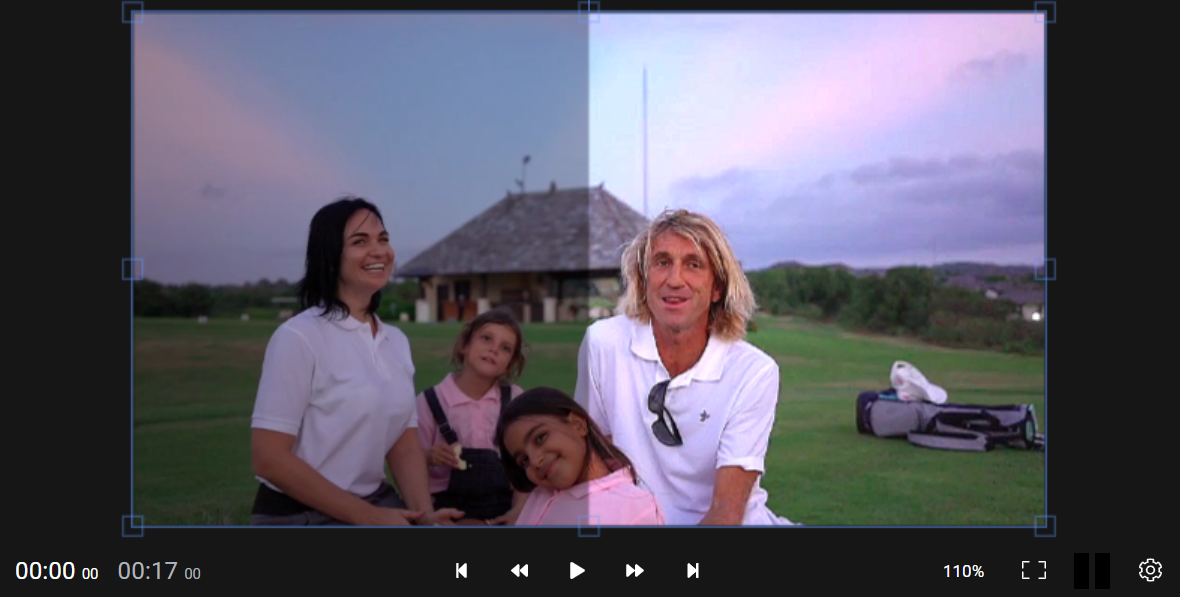
Here’s the results we managed to get with a video that was a bit too dark for our tastes:

PRO TIP: You can also crop videos to fix framing issues or make them easier to share on Instagram. To crop a video with Flixier, you can either choose a new resolution for the video canvas and then drag on the video with the mouse button to resize and reposition it, or you can select your video on the timeline, open the Video menu on the right side of the screen and use the sliders to crop your video as you see fit.
Flixier also lets you cut videos, add background music and insert text and transitions easily. Our tool is a fully featured video editor, so feel free to experiment with it if you want to get more out of your videos!
Step 3: Export and save/publish your video
Now that you’ve finished adjusting your video, it’s time to Export it and save it to your computer! Just click the Export button in the top right corner. You’ll notice that Flixier gives you the option to publish your video directly to YouTube, Facebook or other online destinations if that’s what you want.
If not, just press Export again to start the Rendering process. This is all done on our servers, so your video will be ready to download in 3 minutes or less, without putting any strain on your system during the process! Once rendering is over, you’ll be able to save the video to your computer.
Closing words
Thank you for making it this far! We hope this guide helps you adjust and get the most out of your videos!