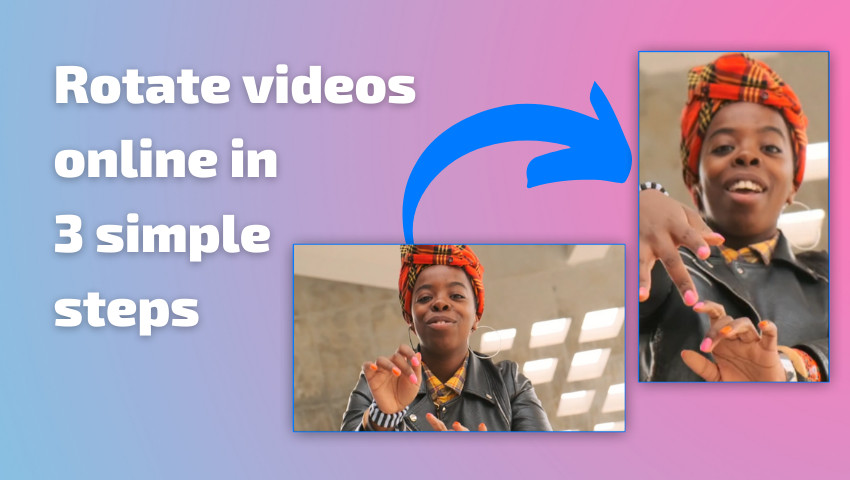
Follow these simple steps to change the video orientation of any video file

Are you looking to convert a video from portrait to landscape, or vice versa? Don’t worry, it’s easier than it sounds! In this article, we’re going to show you the easiest method to do it!
And the best part is, it’s all in your browser! That’s right, you don’t need to worry about downloading or installing any apps in order to rotate your videos! Our online video editor lets you do everything online and works just as well on Windows laptops, Macs or Chromebooks.
So, without any further introductions, here’s how you can rotate your videos online:
Step 1: Upload the videos you need to rotate
In order to start rotating your videos, you first need to upload them to the Flixier library.
To do that, just go to flixier.com and create a free account. After that, click the blue Import button on the dashboard to upload your video files. You can either bring them over from your own computer, or connect to different cloud services such as Google Photos or Dropbox and bring your files over straight from there.

Flixier also offers you the option to import videos straight from YouTube simply by pasting in the link. This makes it easy to turn your videos into YouTube shorts or share them as Instagram stories and TikToks.

On top of that, you can also link your Twitch account to import your past streams, highlights and clips so you can easily rotate videos and share them on social media to grow your Twitch channel.
Step 2: Create a new project and rotate your videos
Now that you uploaded your videos, it’s time to get to work.
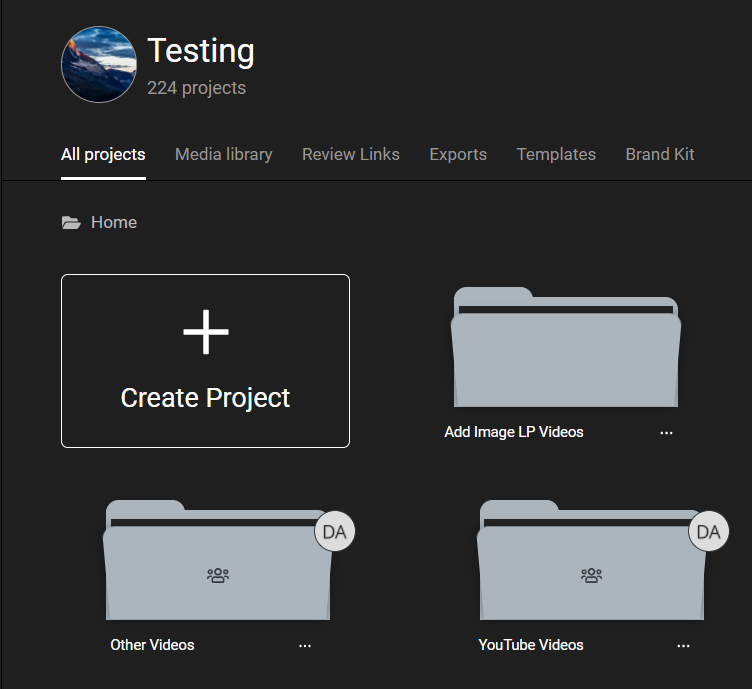
In the Flixier dashboard, click the Create Project button.

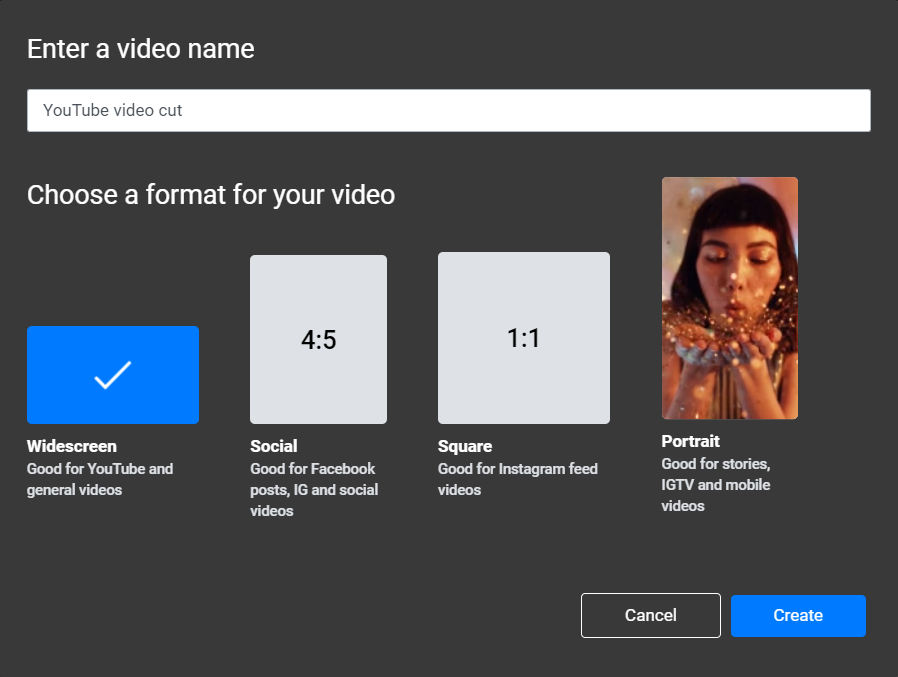
Make sure to select the right Aspect Ratio that you want to turn your video into. For example, if your video is Portrait and you want to make it Landscape, select the Landscape format.

After that’s done, hit Create. Drag the video from the Library over to the canvas. You can drag on its edges to adjust the video size, zoom level, orientation and rotation angle. Adjust it and move it around in order to get everything looking the way you want it to.
If you want to spice things up a bit, you can also add more elements like Titles, Photos and Motion Graphics to it from the menu on the left side of the screen. Just drag them over to the canvas! The menu on the right side lets you customize everything!
Step 3: Download and share
Now that you’ve finished editing, all you need to do is click the blue Export button in the top right corner of the screen. Flixier will have your video ready for you in a couple of minutes and you’ll be able to download it to your computer and share it online!
Oh, and did we mention that this is all free? That’s right, you can register a Flixier account and start editing and changing the orientation of your videos right now!